WHAT IS CAMPAIGN MONITOR?
Campaign Monitor is an email marketing platform that provides the services of:
- Creating a campaign
- Automating your campaign
- Importing contacts
- Transactional emails
- Personalized emails
- Running A/B tests
- Integrating apps
- Viewing your reports
This platform focuses heavily on campaign creation and automation. Everything you do on the platform is related back to these first two areas.
Overall, Campaign Monitor is a service that helps you to create your design for a campaign, add your contacts, and automate the entire process.
This service doesn’t offer a free plan. They have a free trial of its software, however, to use some of its features – you must purchase a plan. Plans for Campaign Monitor start at $9 per month, making this service very affordable.

USING CAMPAIGN MONITOR FOR EMAIL MARKETING
Using Campaign Monitor to automate your emails does take a little time, but the end product is very nice.
I’ll show you how to:
- Create a campaign
- Automate your campaign
- Integrate your apps
- A glimpse of the reports
Overall, I’ll walk you through a free trial of the service and show you how to complete these steps.
Expect to spend about 15 to 20 minutes on the creation and 5 to 15 minutes on the automation process. This will take up an initially large amount of time, but overall, the final product looks great!

Creating a Campaign
Creating a campaign should always take a little bit of time because you want it to be right and be great for your audience. However, spending too much time on a campaign can make the task seem daunting and something you don’t look forward to.
I do like that the ease of use is for a beginner level and they offer premade templates in case you aren’t a great designer.
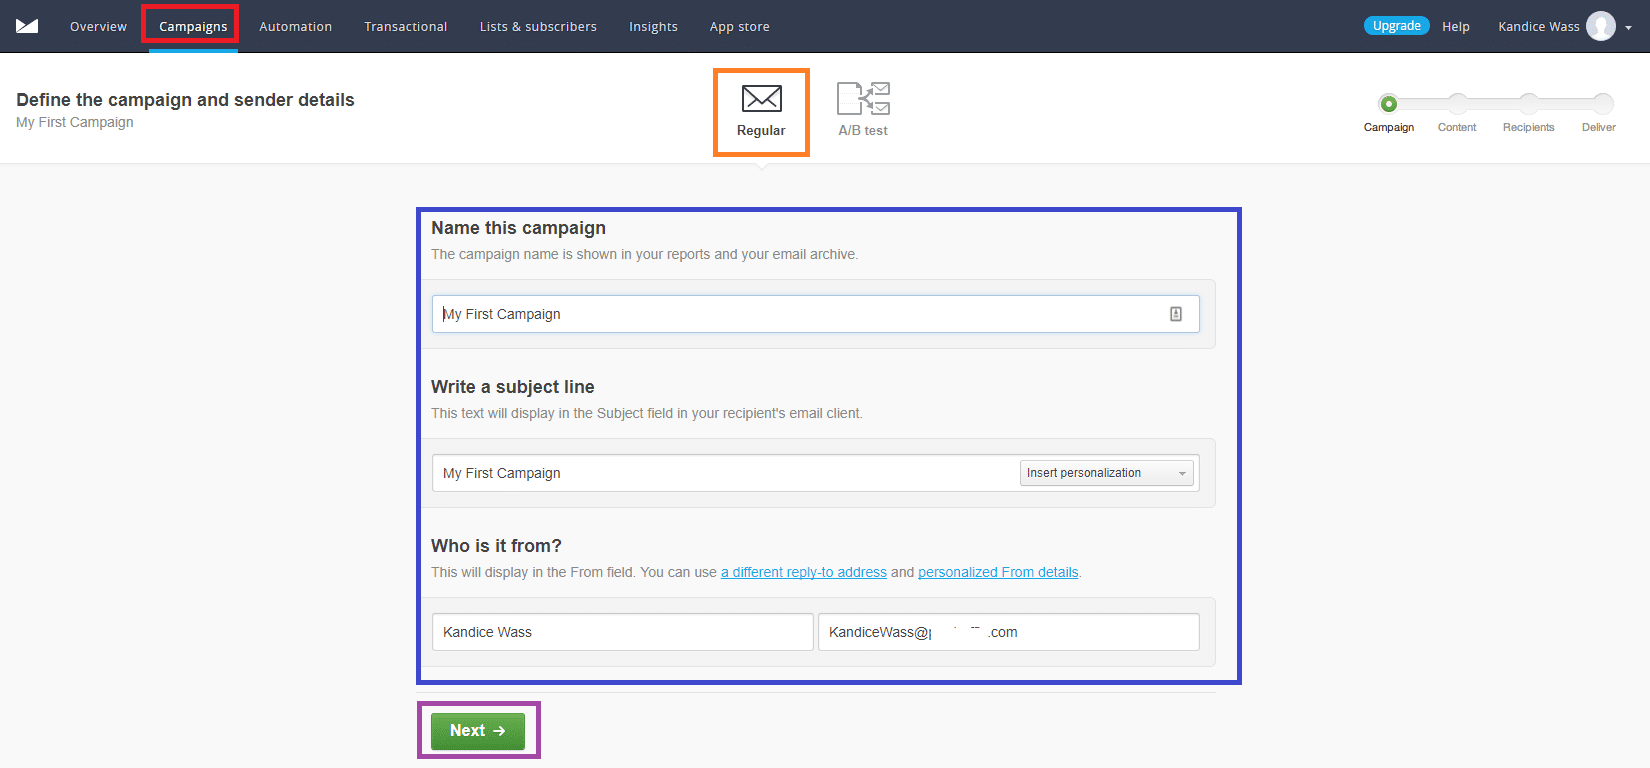
Click on campaigns in the navigation panel. Next, select regular campaign, fill out the information and select next.
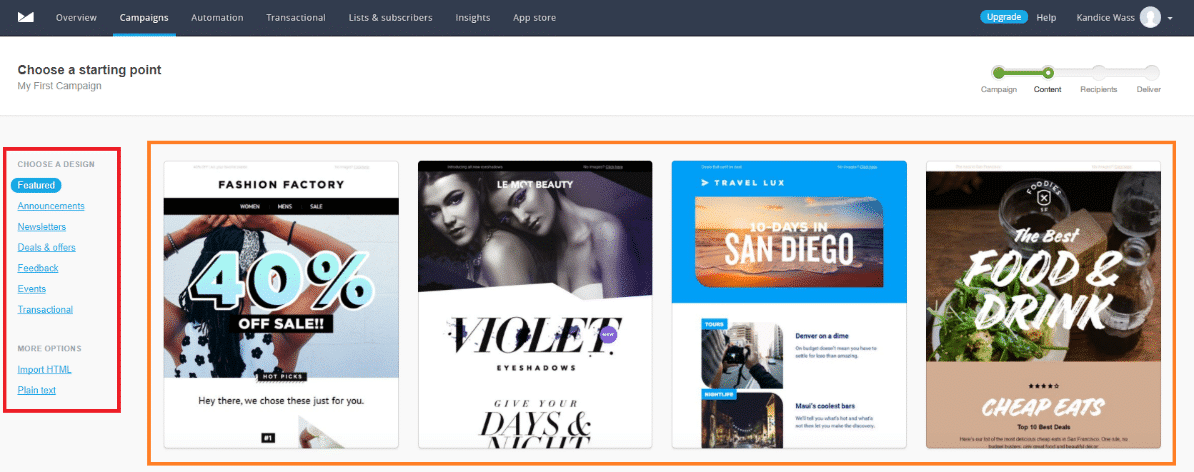
Choosing a template to fit you needs is what you should focus on. On the left-hand side, you can see categories of templates to choose from. Select the category and pick your favorite template.
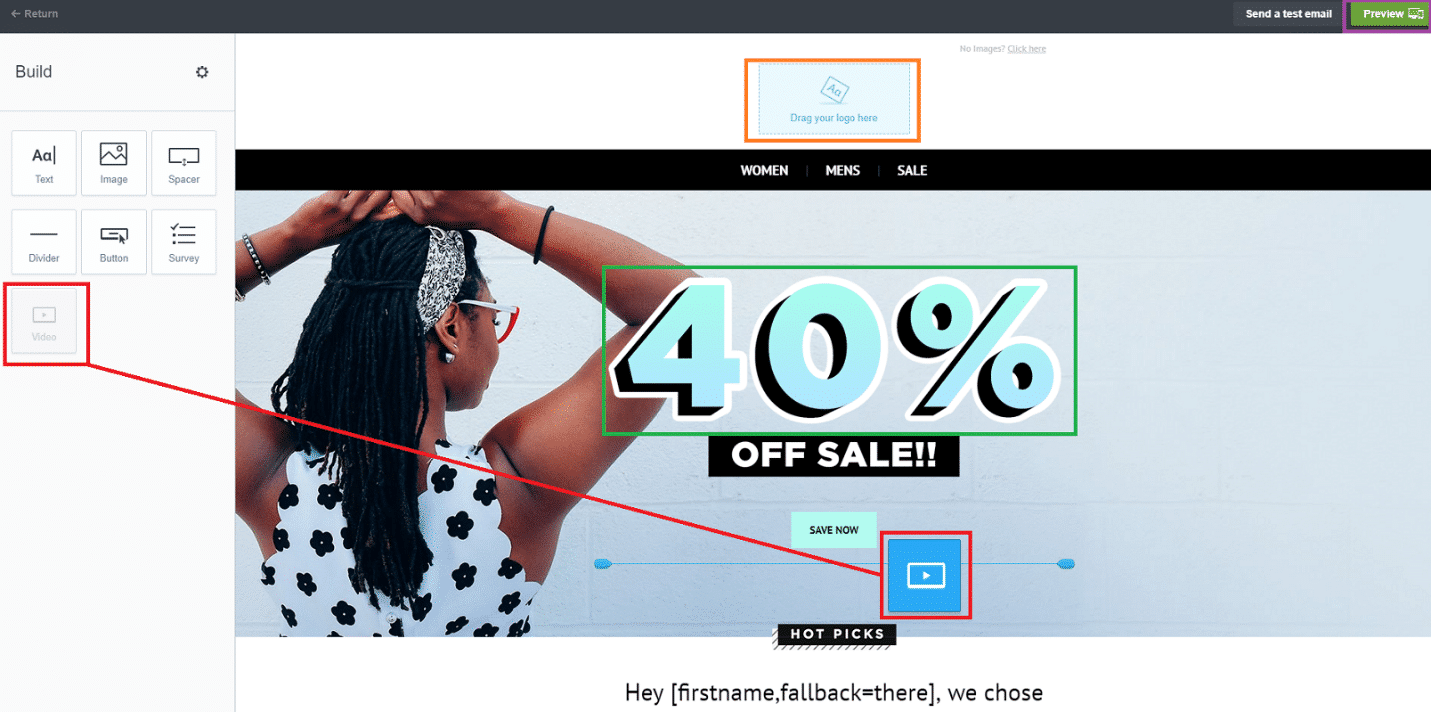
In the editor, you can drag and drop images, videos, text, and more anywhere on the template. You can add your logo in, double-click text to edit it, and add links to any information on the template. When you are finished designing, select the preview option.
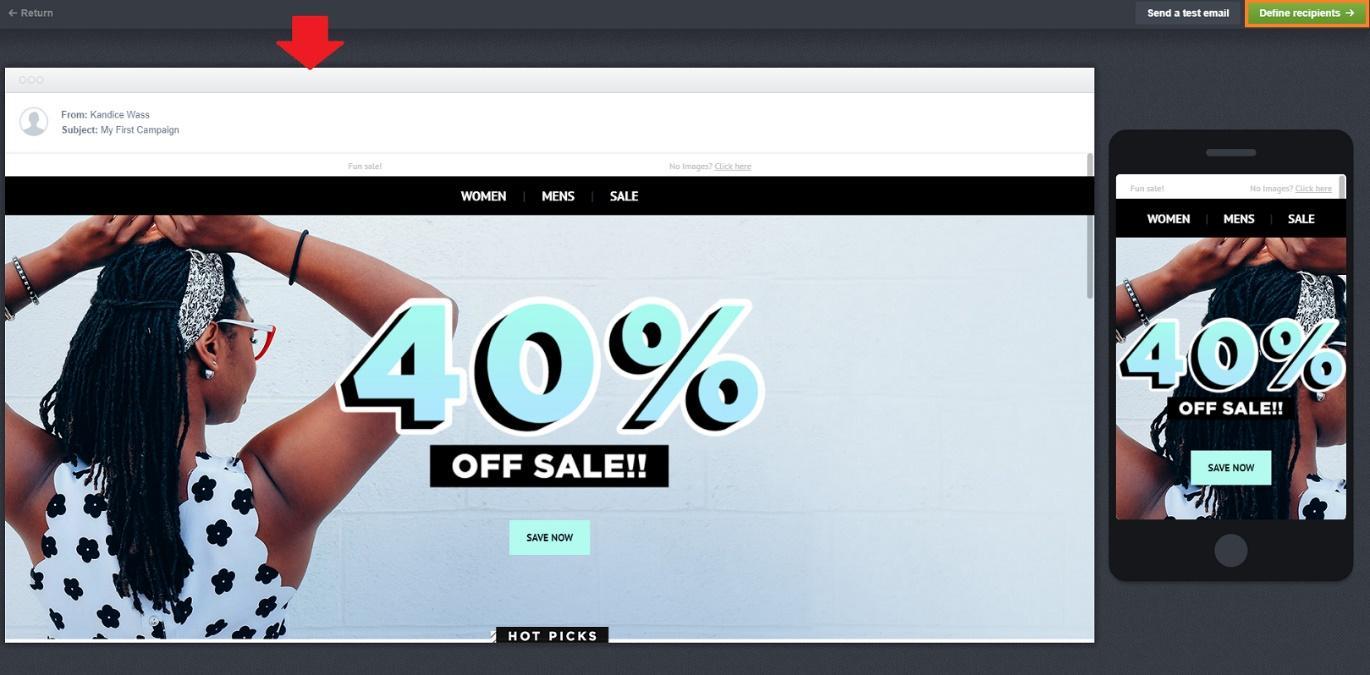
On the preview screen, it’s important to take the time and make sure that what you created appears well on the website and the mobile site. If you are satisfied with your campaign, select define recipients.
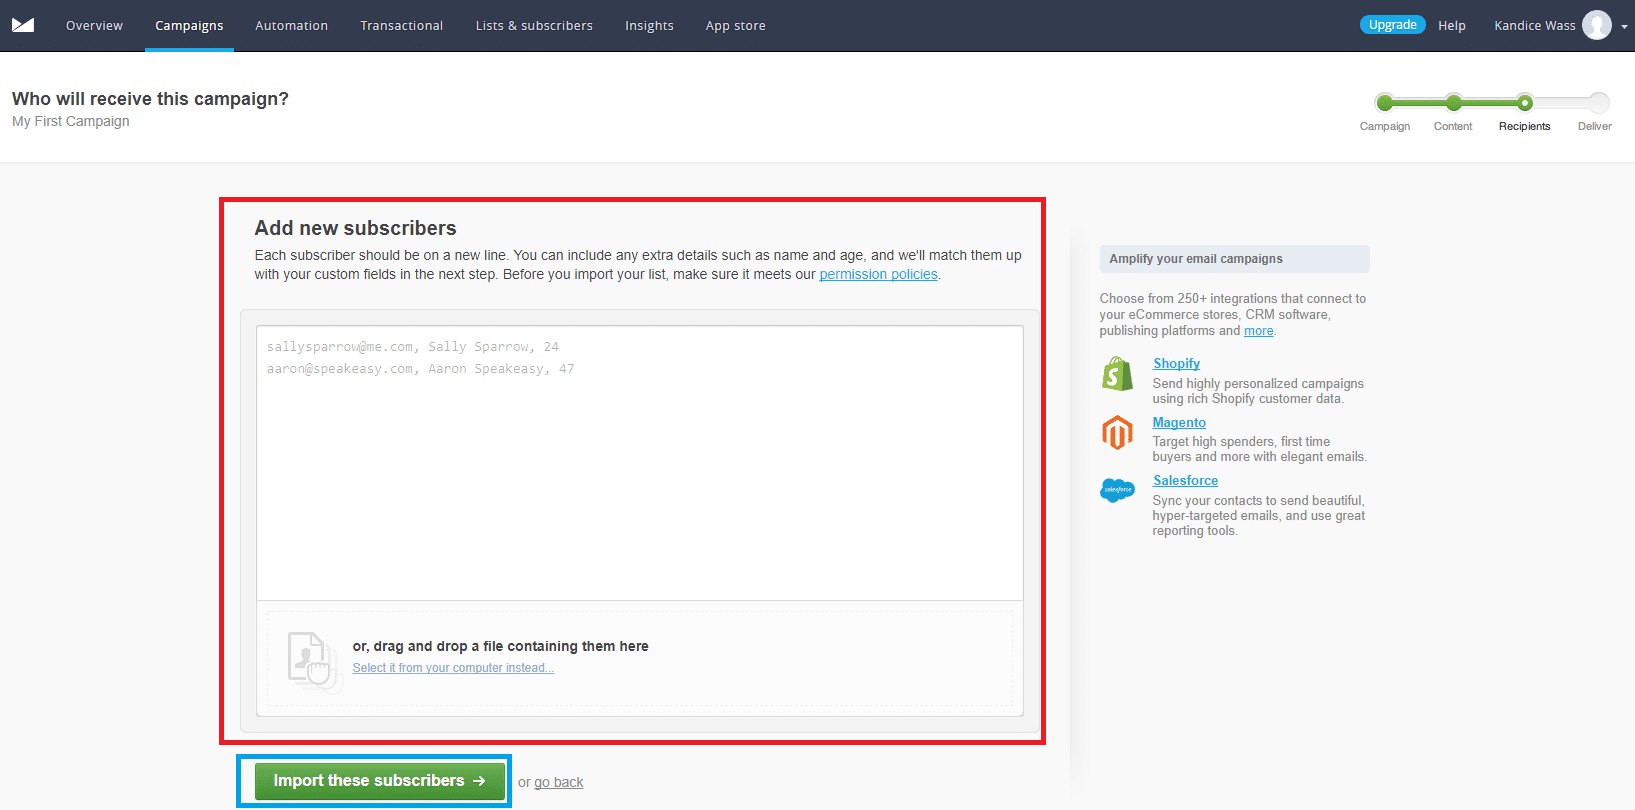
For the subscribers, you can type in the information or drag and drop a file to import them. Once finished, select import these subscribers.
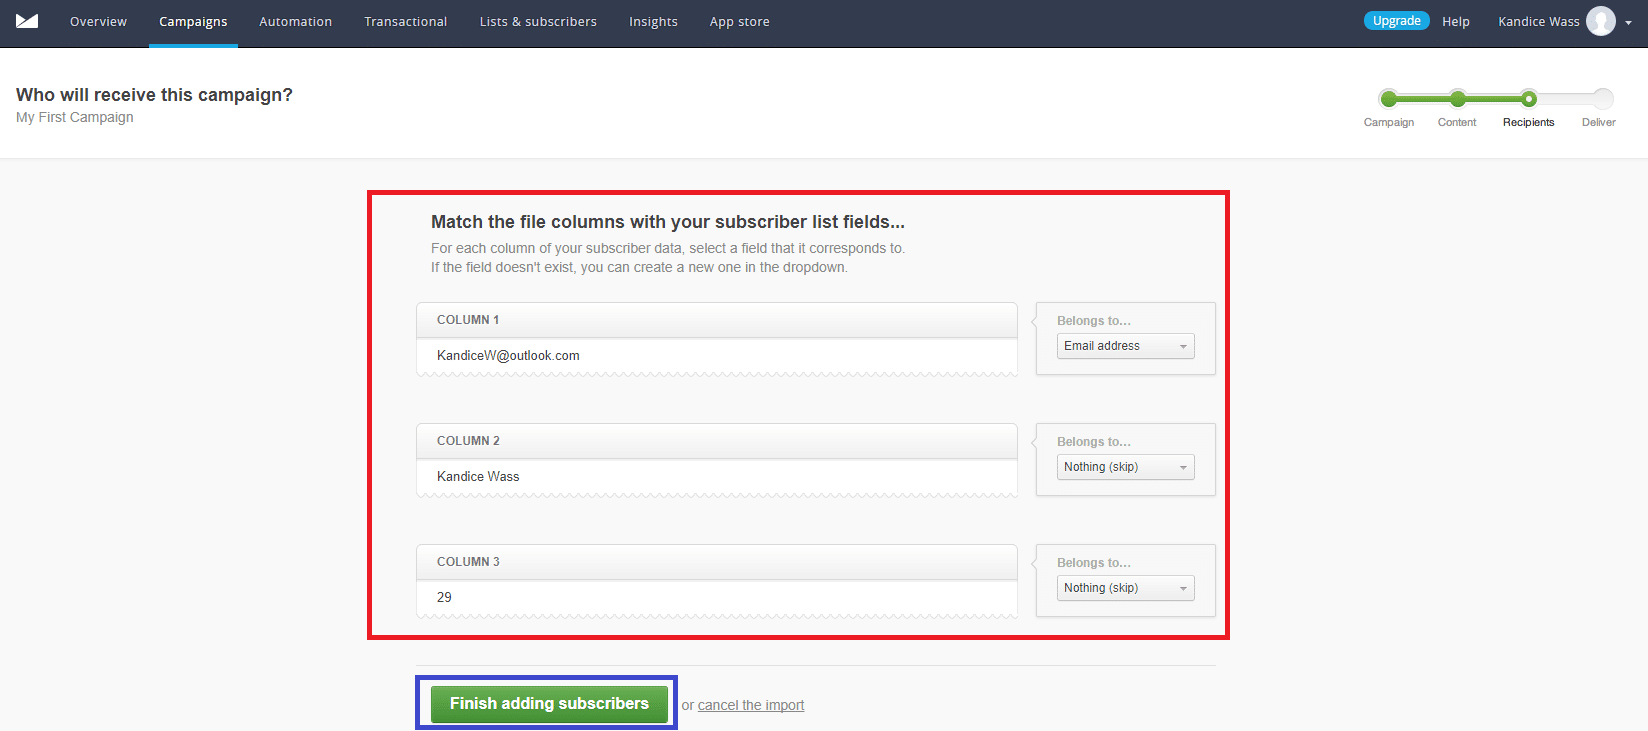
Next, you need to separate the subscribers of the import list you added. You can have categories for each section, such as first name, full name, last name, birth date, email, etc. When finished, select finish adding subscribers.
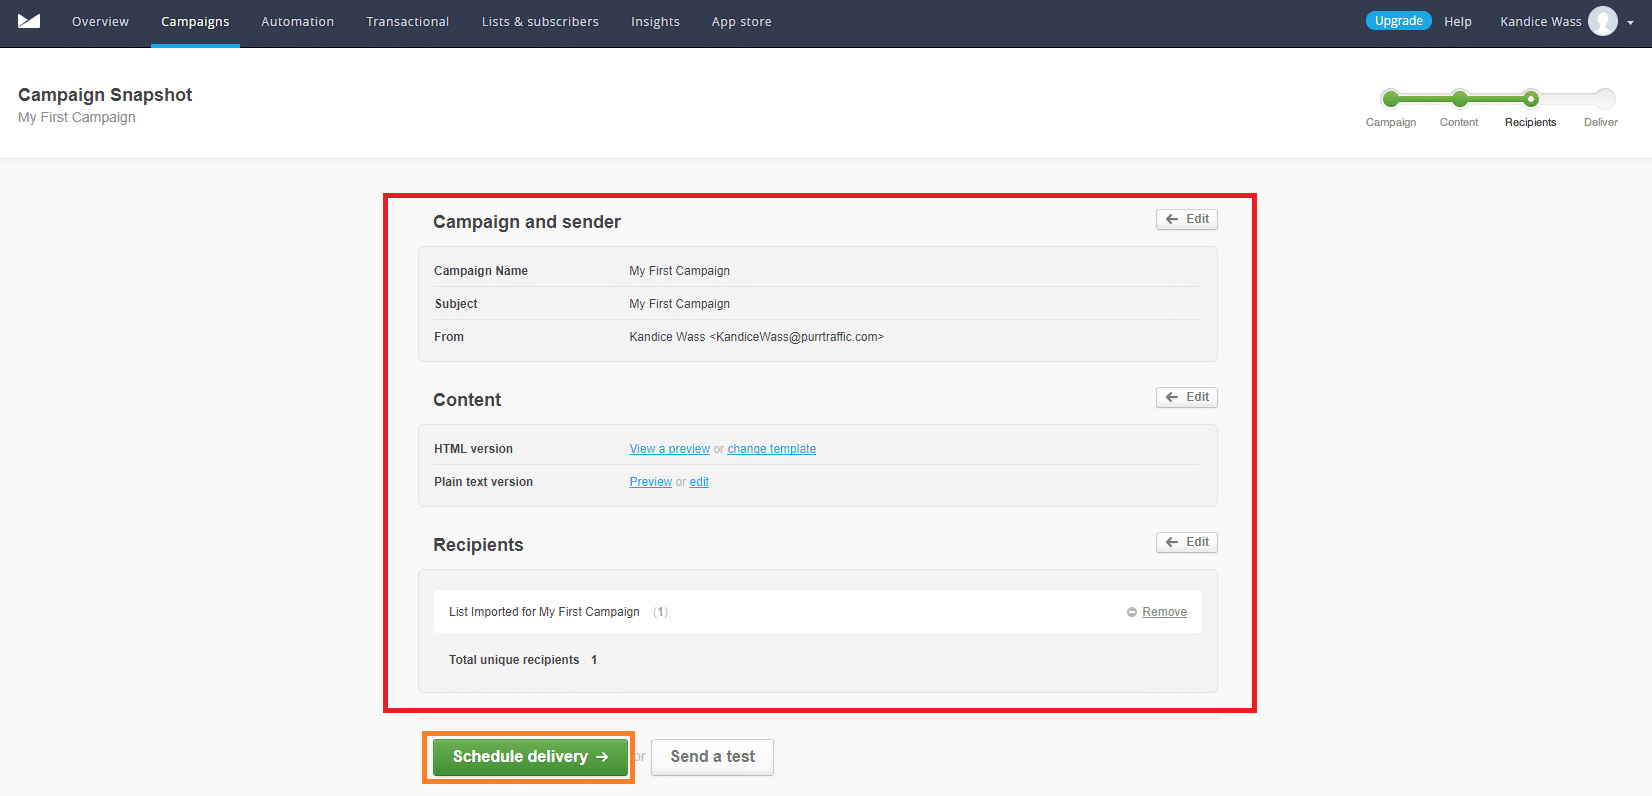
Review the campaign, content, and recipients before selecting schedule delivery.
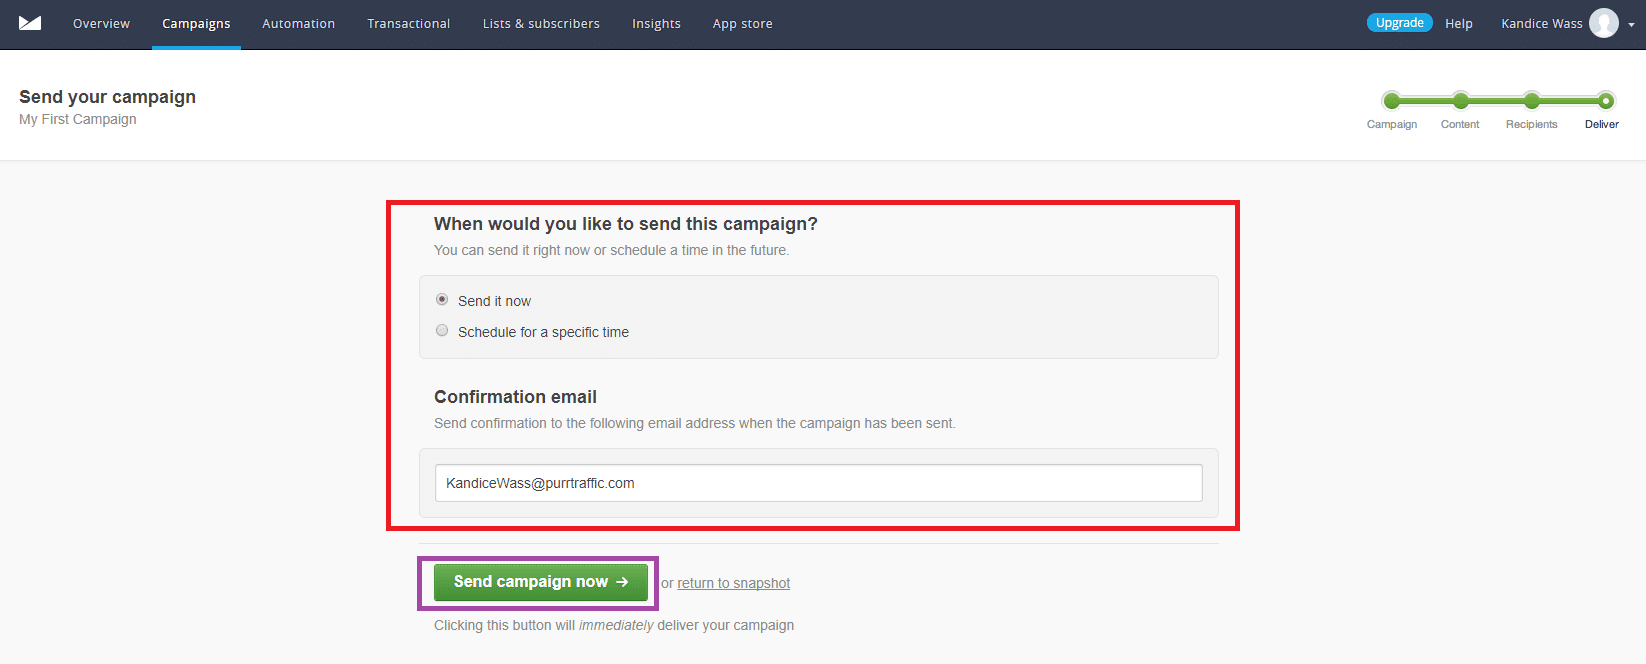
You can choose to send the campaign now, schedule it for later, and add a confirmation email to send yourself a link once it’s been sent. When you finish, select send campaign now.
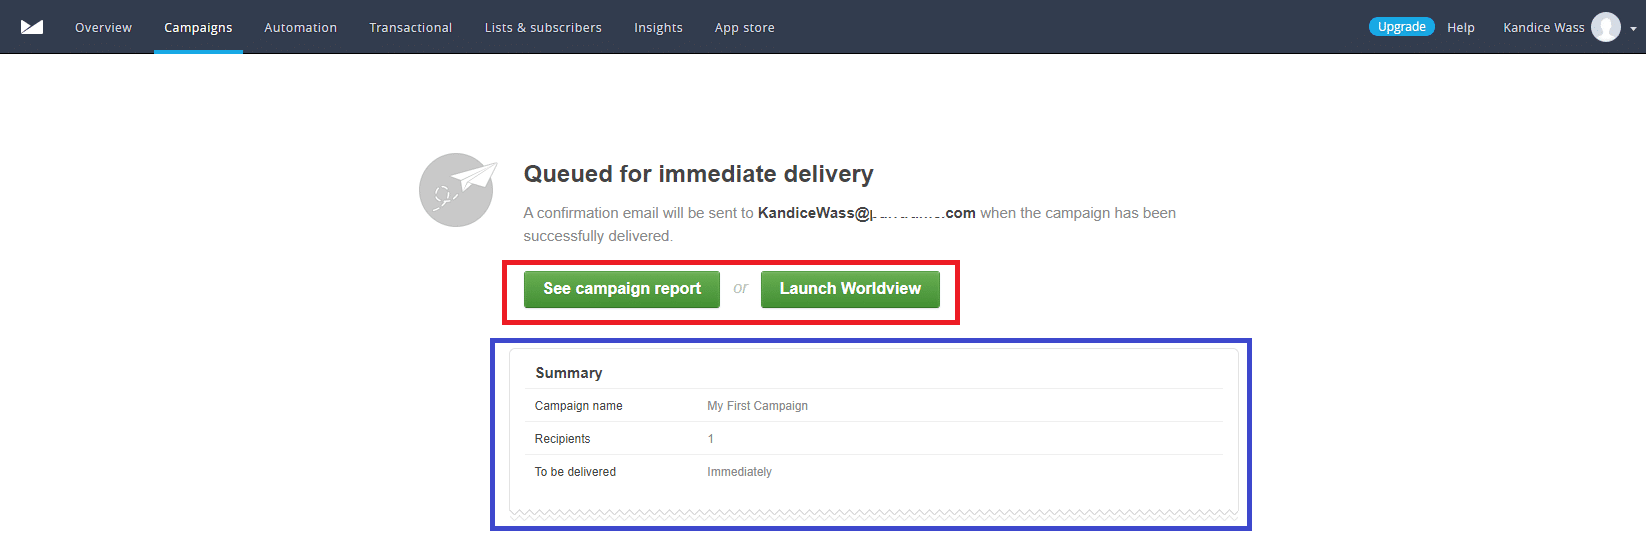
You have now finished creating and sending your campaign. You can now see the report, launch the worldview, or move on with me.
Automating Your Campaign
Automating your campaign makes it easy to send emails directly when an action is taken. Without automation, you would have to remember to send an email to your subscriber list, 24 hours after they subscribed, send another email a day after that, and so on. Too many promotional emails can be a bit spammy, so to keep good engagement try to create a nice customer experience, build trust and improve brand awareness.
Email automation has definitely improved email marketing for the better. It allows us to see when emails have been opened, send abandoned cart emails, design a course of action around it, and build a strategy to keep that lead. Be aware of the customer journey so that you reduce the bounce rate as much as possible and improve customer loyalty.
A good marketing campaign with beautiful emails will boost your marketing efforts and the marketing automation that Campaign monitor provides will get you noticed more and more.
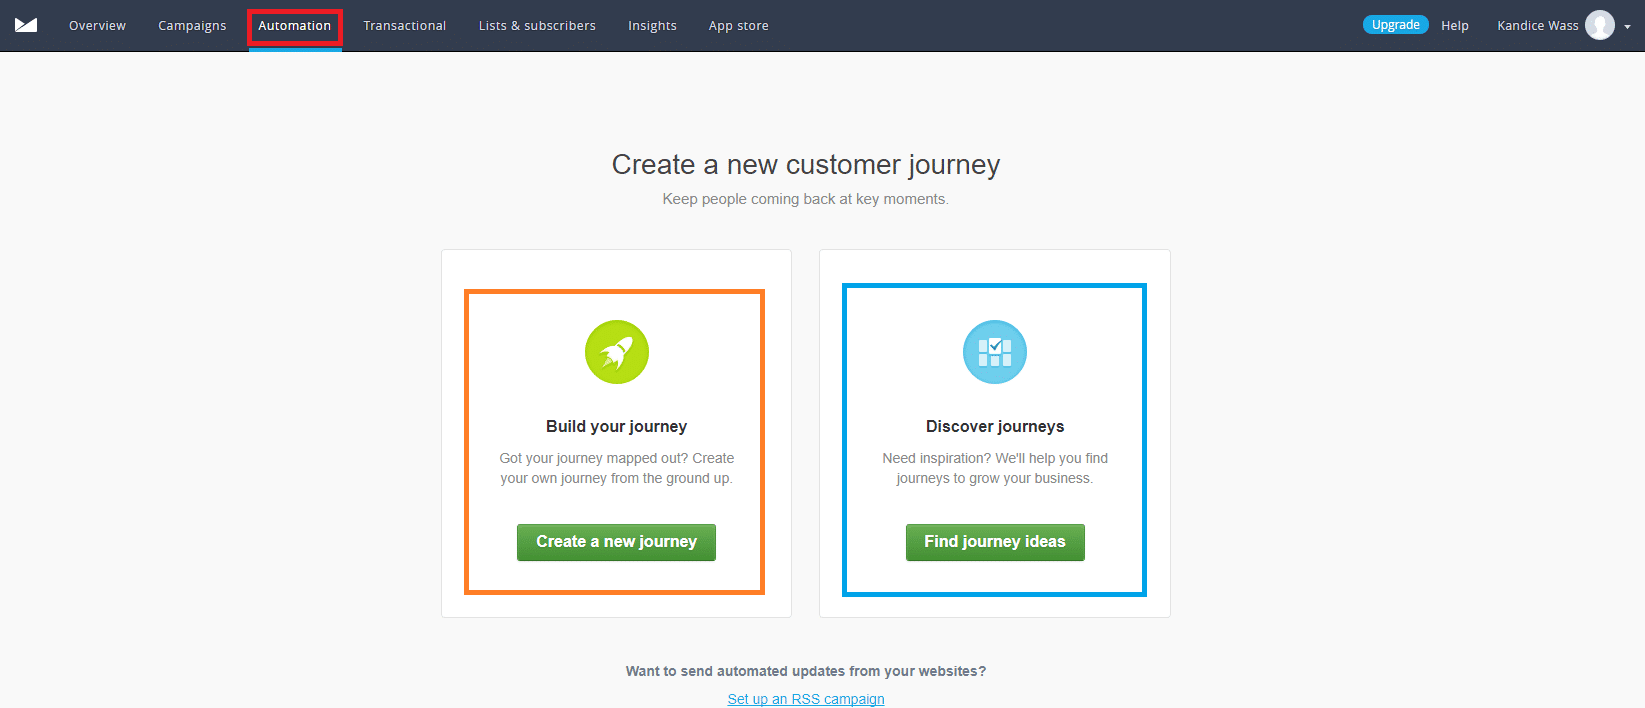
Click on the automation section on the navigational panel. Here you will see two options to pick from, create a new journey or find journey ideas. Building your own journey is what I chose.
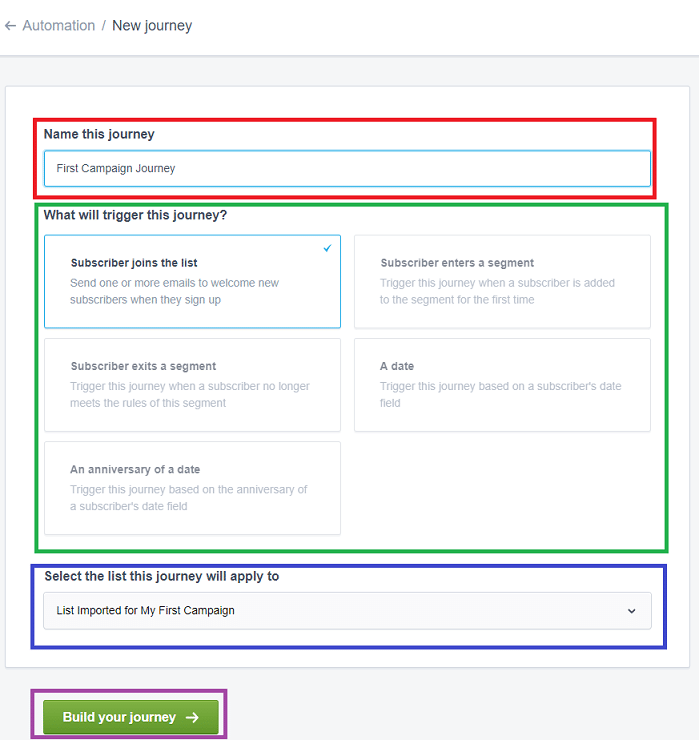
You need to name your journey, select the trigger that causes this journey to activate, and the list of recipients it applies to. Once you finish, select build your journey.
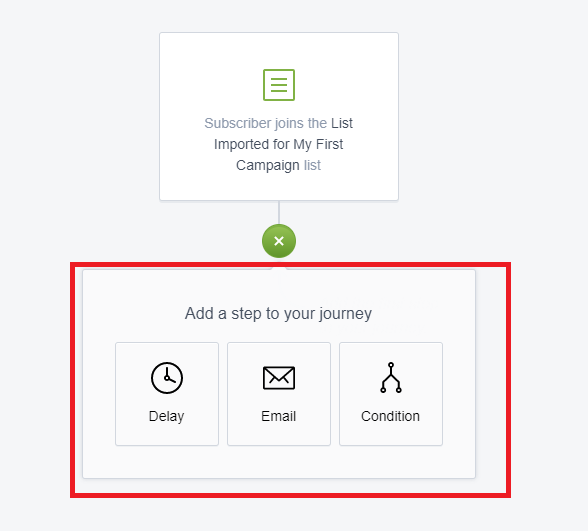
On the automation editor, select the + sign under the first action. This will provide you with three actions to choose from. I chose to delay.
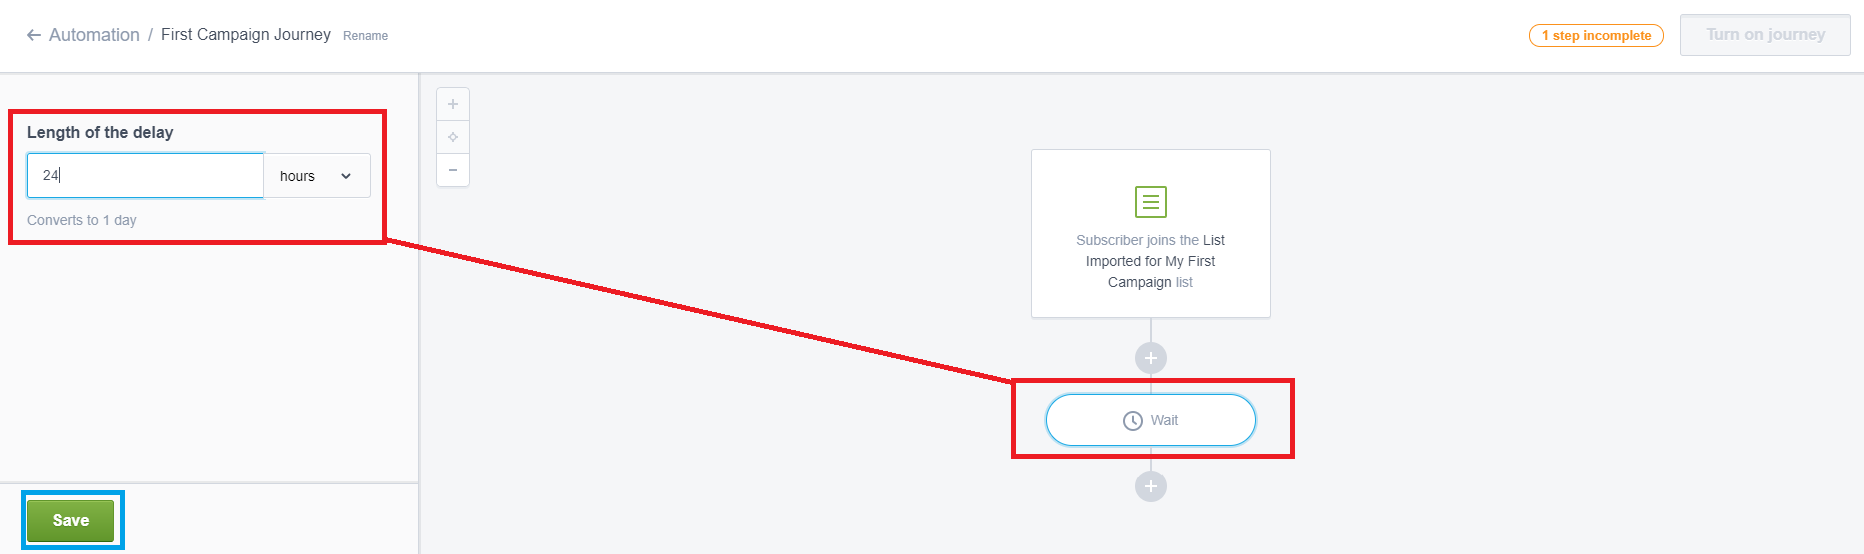
Click on the wait button for the editor to open on the left-hand side. Input the number of hours/days/weeks/etc. to wait before your next action. Select save.
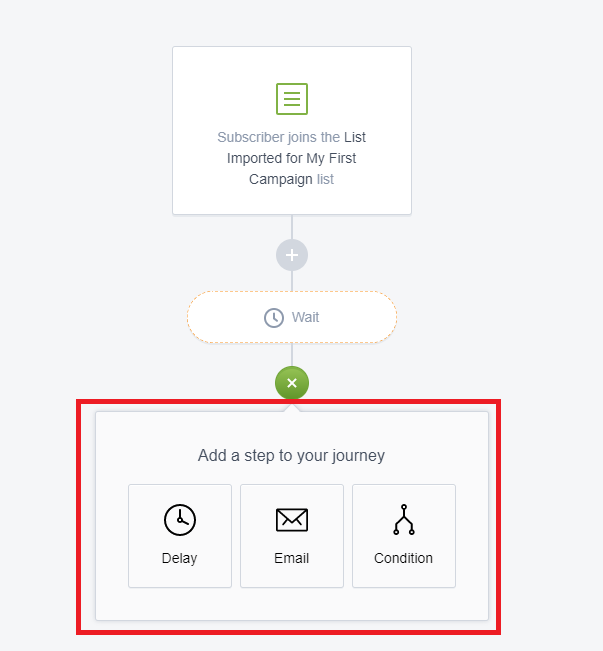
Select the + sign that shows up under wait. You will be given three more options to choose from. This time I chose email.
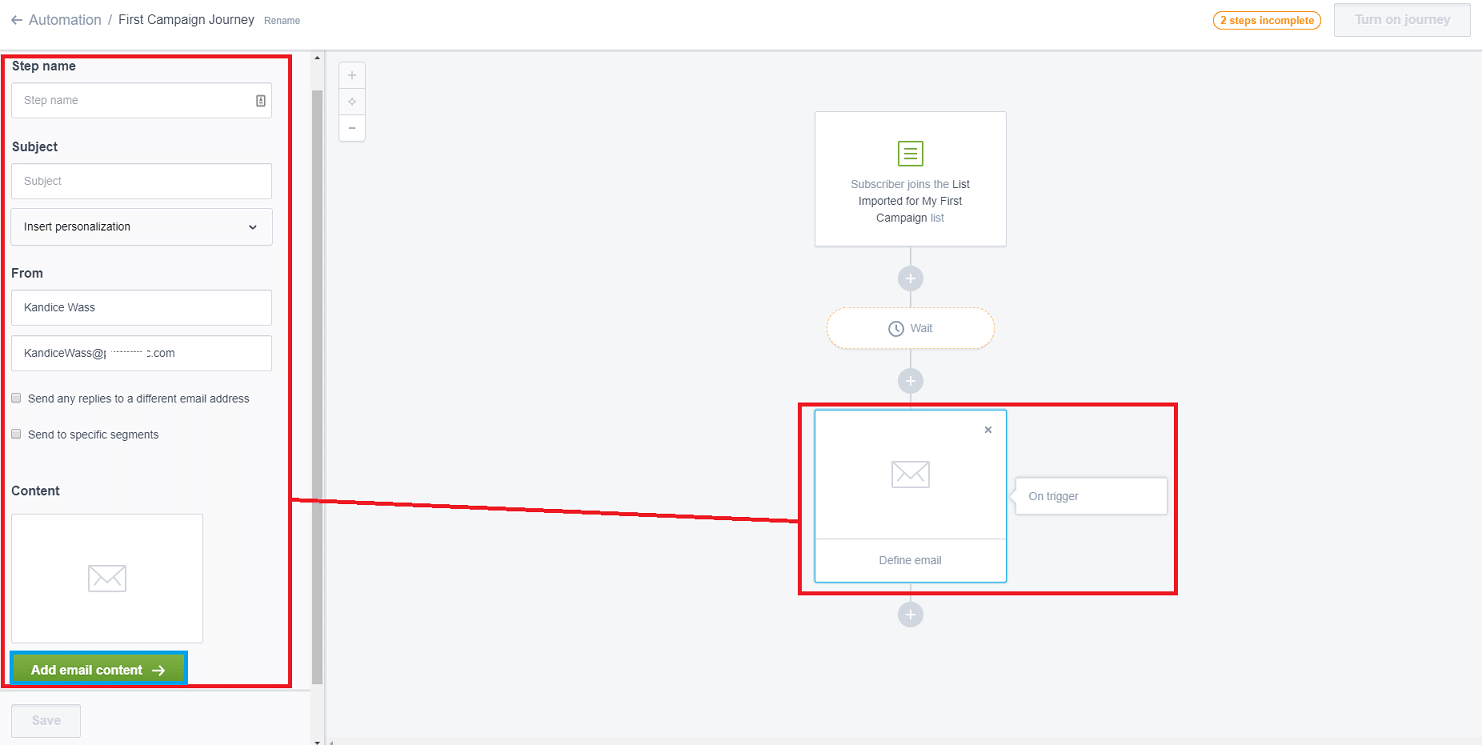
If you click on the email button, the left-hand editor will open. Here you can name the step, enter the subject, personalize it, check the from section, add your content.
To add your content, click add email content, then select the email campaign you created.
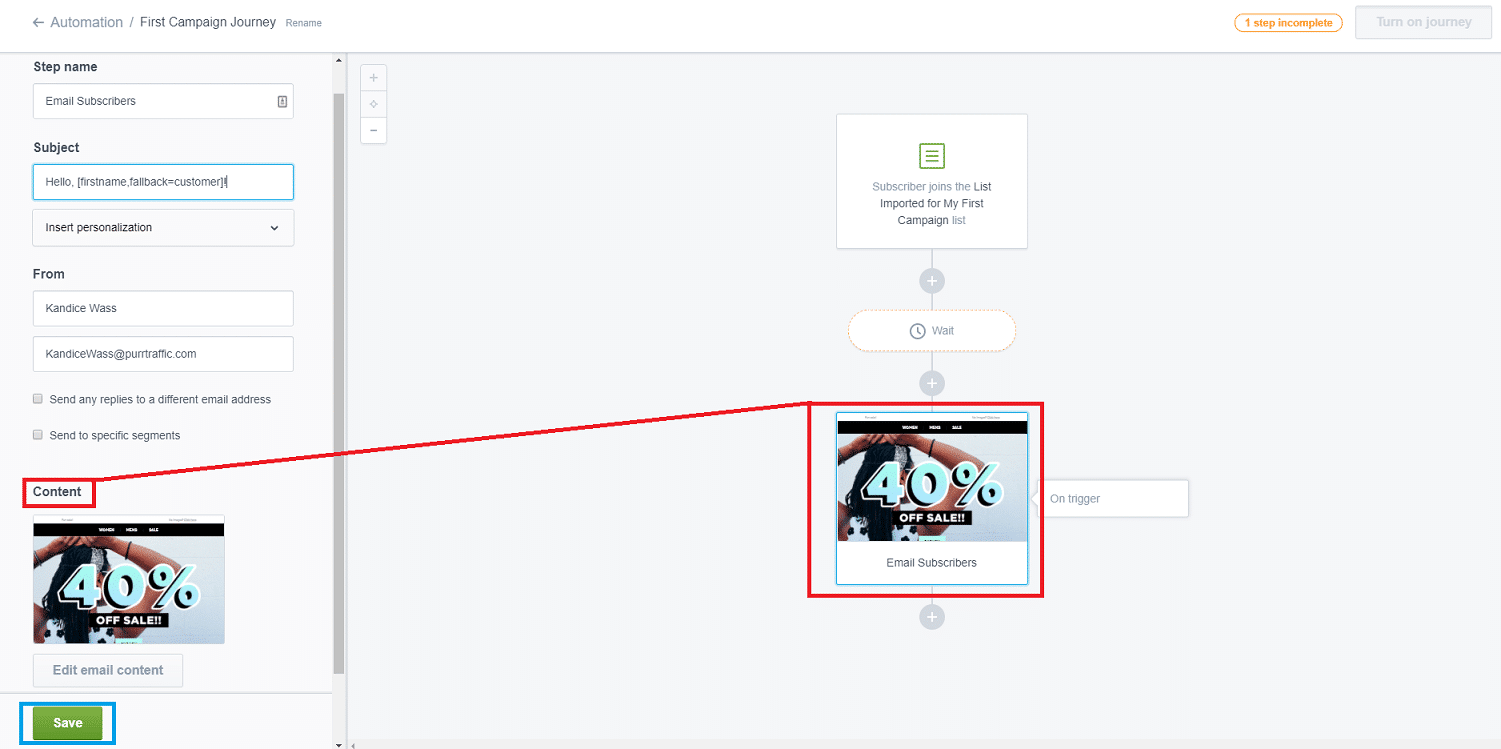
Once you add your email content, you can then select the save button.
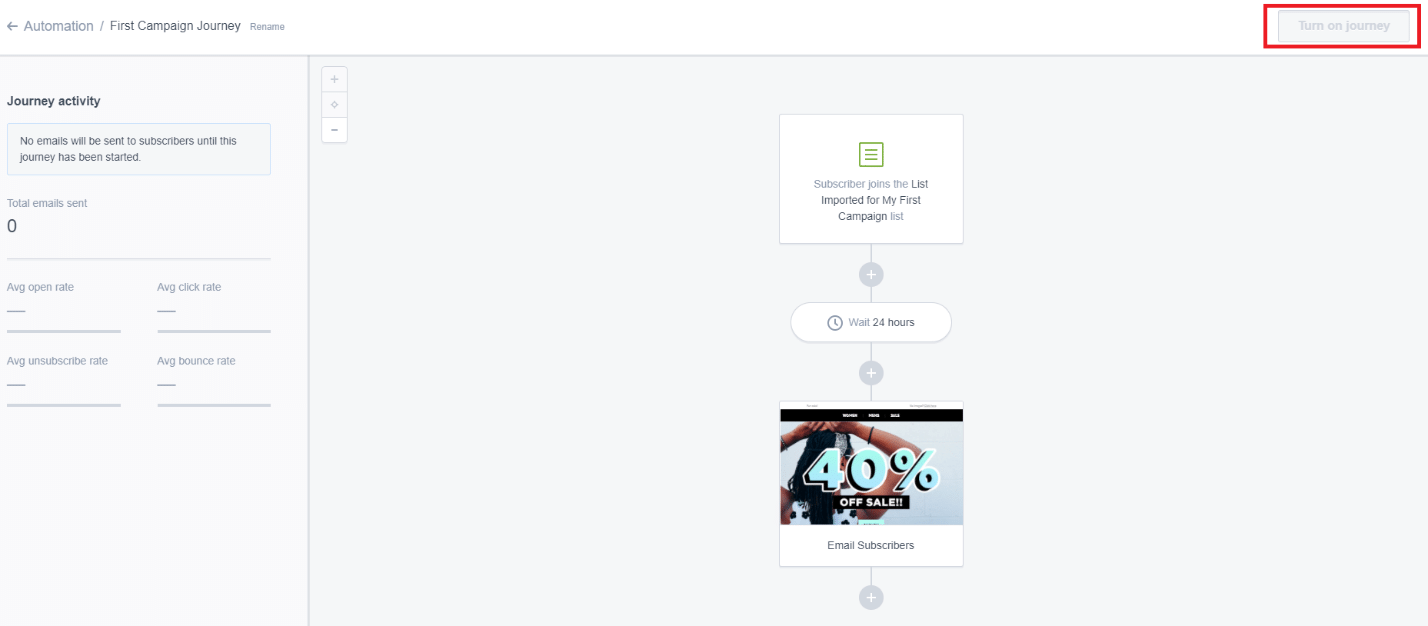
Once you have finished your campaign automation, if you have purchased a plan, you can now select Turn on Journey.
You have now completed your campaign automation!
Integrating Your Apps
Integrating your apps tends to be similar for most platforms, however, I found it to be a little different on Campaign Monitor.
On Campaign Monitor, you need to visit their app store and view their integrations that way. You may have to search for them, which will open a new window so don’t be alarmed.
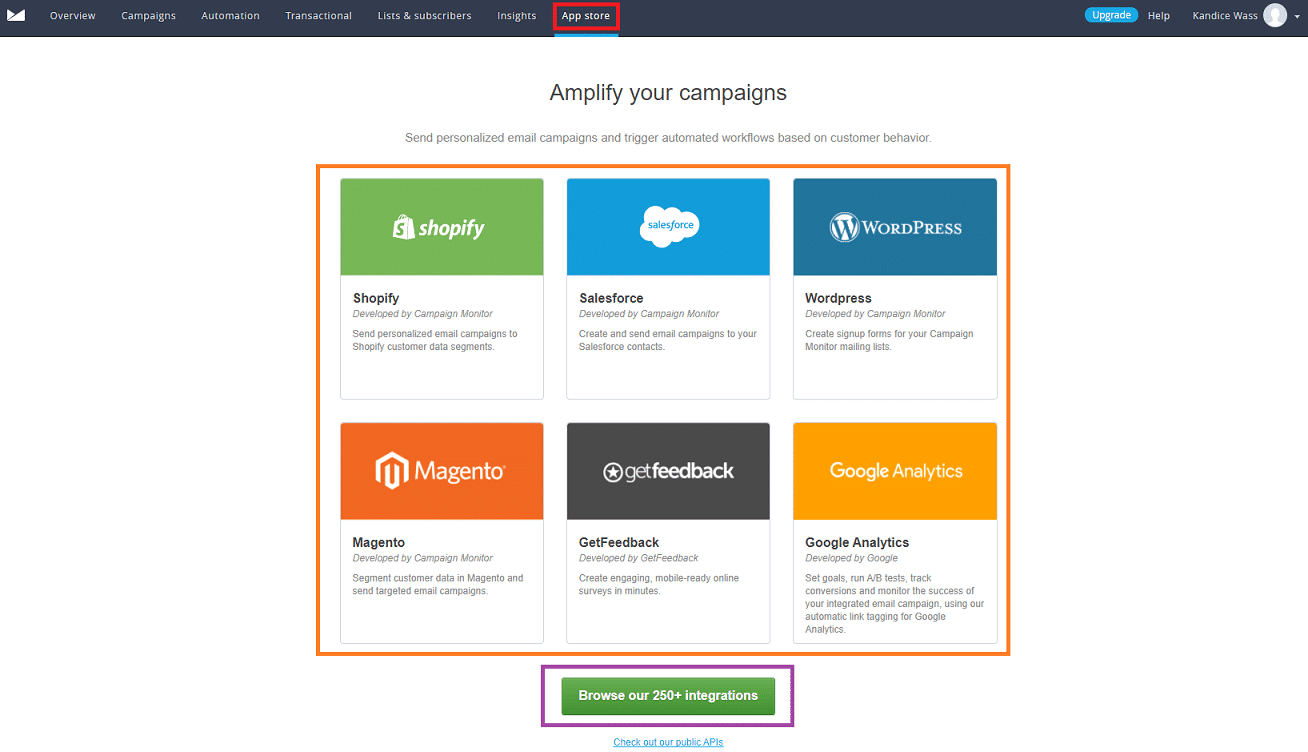
Click on the app store on the navigational panel. Here you will see a few of the apps listed, or you can select the browse our 250+ integrations.
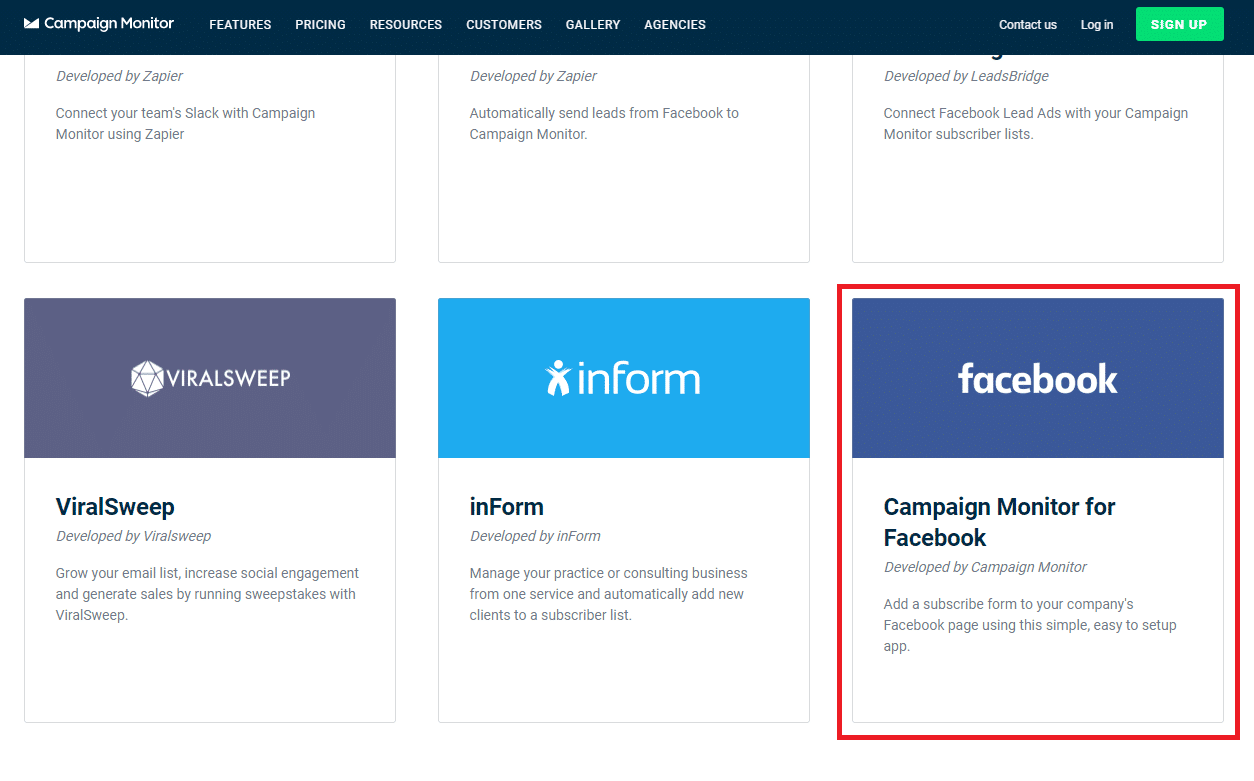
I browsed some apps and found the Facebook integration. I went ahead and clicked on this integration app.
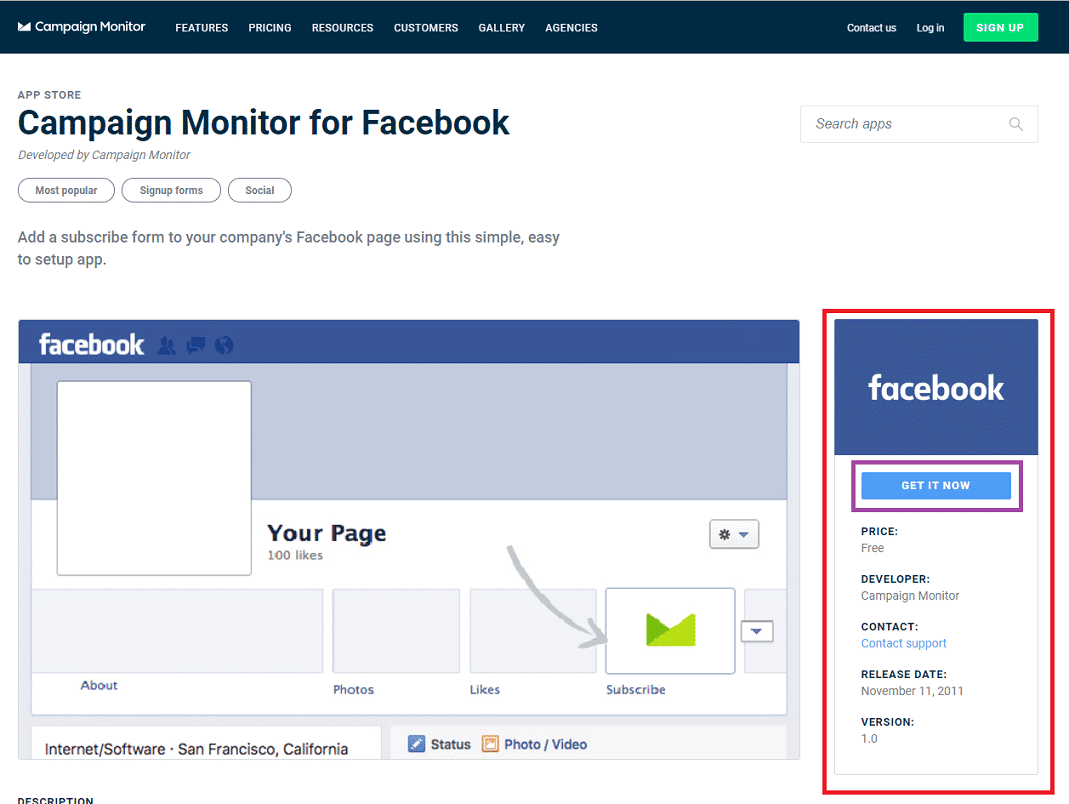
You will be taken to their information area where you can browse through the details. Select get it now to proceed.
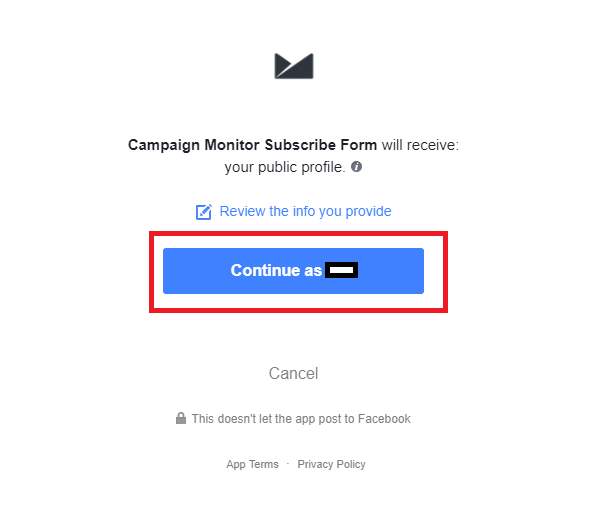
You will be directed to Facebook where you should continue as yourself.
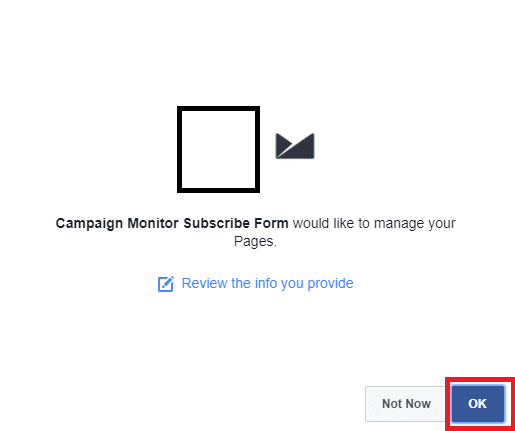
Select OK to be taken back to the app store on Campaign Monitor.
You have integrated the app and can continue with as many as you’d like.
Reports and Analytical Data
I always like to look at the reports and data when I can, even if there isn’t any, just to get an idea of what they offer and what they show.
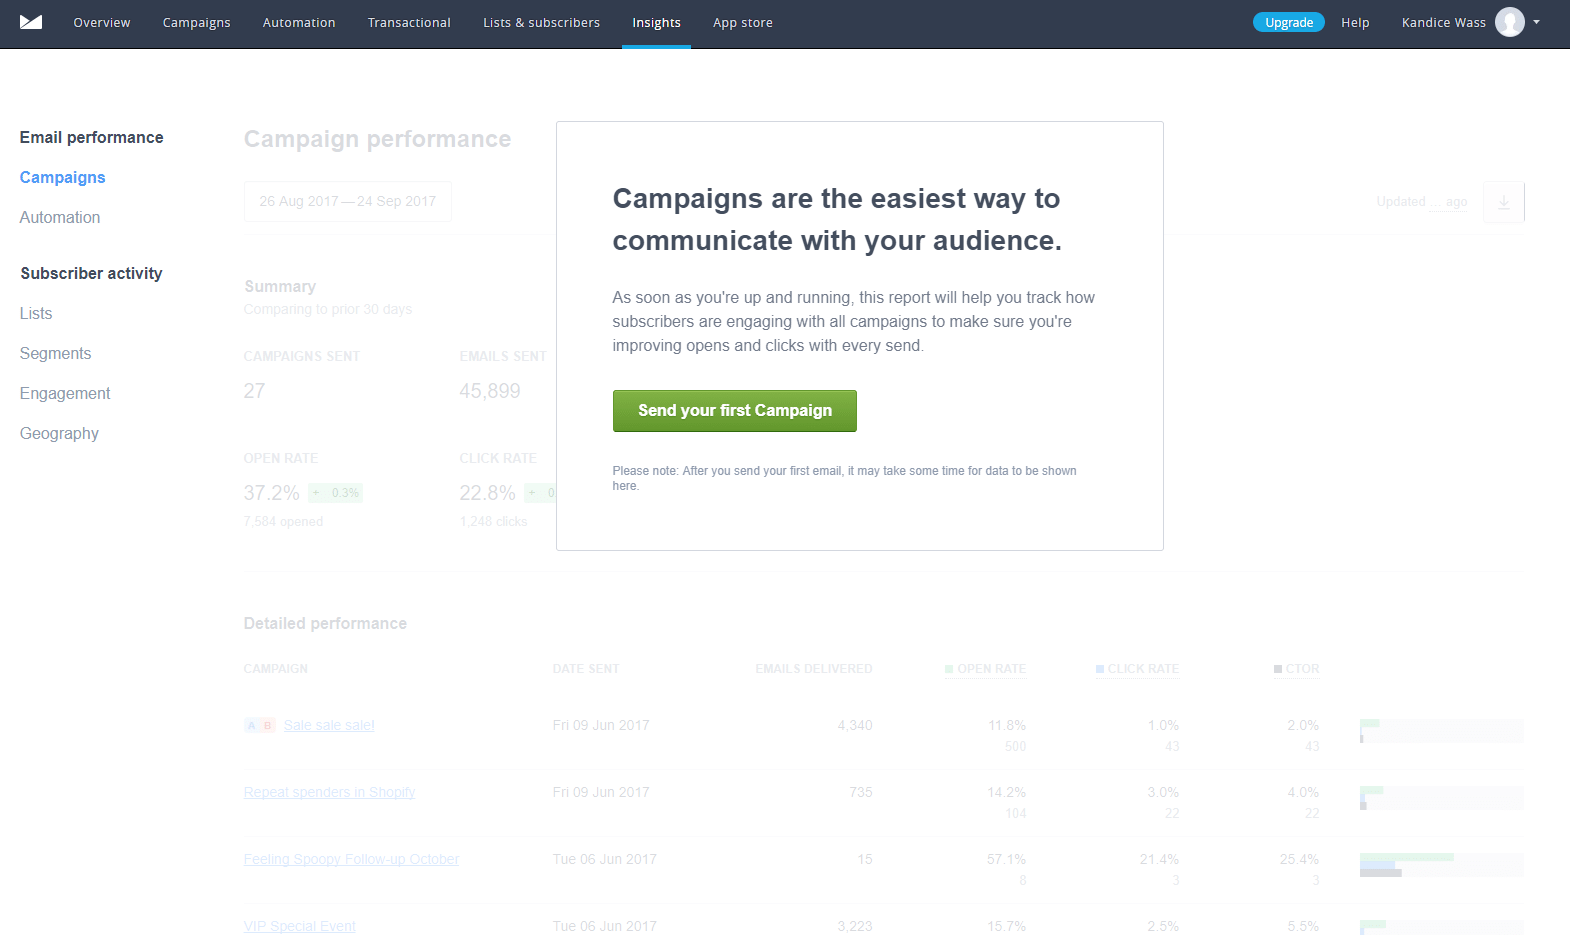
Unfortunately, I couldn’t see much of a report, and it could take up to 24 hours before I see anything.
However, what I can see is they provide you with many options to select so you can see your summary, the open rate, click rates, conversions, and much more.
CONCLUSION
While I could only use about half of the software, I did enjoy what I used and how it performed.
I did think the creation process took longer than it should, but the automation process is quick and I like the options to edit each piece.
Overall, the marketing tool is very nice to work with, easy to navigate, and great for beginners. I recommend checking their service out and it’s definitely worth the $9 per month!